How to Prepare Walls Before Painting — A Professional's Guide
Surface prep is the most important part of any paint job. A professional painter in Carrickmacross explains exactly how to prepare walls before painting for a lasting, professional finish.
Here’s the truth most people don’t want to hear: the painting itself is the easy part. What separates a professional result from a disappointing DIY job is almost always the preparation. Skip it or rush it and no amount of expensive paint will save you.
As a painter working across Carrickmacross and Co. Monaghan, I’d estimate that preparation takes up 40-50% of the time on any quality interior job. Here’s exactly what that looks like.
Step 1: Clear and Protect the Room
Before you touch the walls:
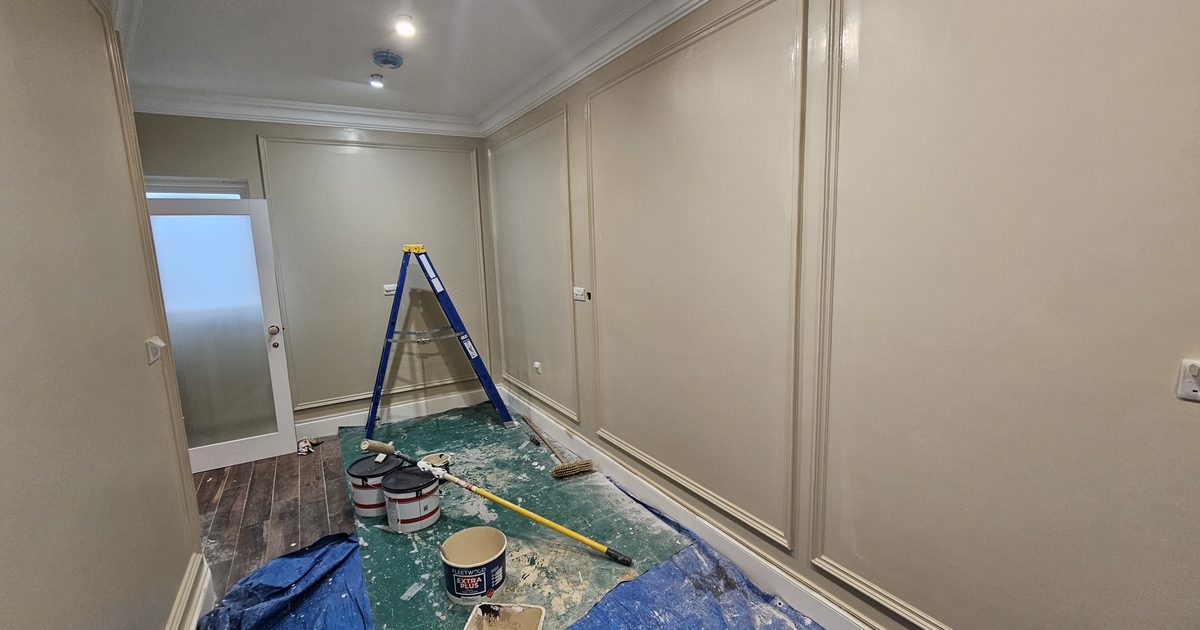
- Move furniture to the centre of the room and cover with dust sheets
- Remove or protect light fittings, switch plates, and socket covers
- Lay dust sheets across the floor — not newspaper, which lets paint bleed through
- Mask off skirtings, door frames, and window frames with good quality masking tape (cheap tape tears and bleeds)
This seems obvious but rushing this stage causes most of the mess that makes painting a frustrating experience.
Step 2: Wash the Walls
Walls accumulate grease, dust, and residue over time — especially in kitchens and hallways. Paint applied to a dirty surface won’t bond properly and will peel or flake prematurely.
Wash walls with a solution of sugar soap and warm water. Use a clean cloth or sponge and work from top to bottom. Rinse and let dry completely before moving on.
Pay particular attention to:
- Kitchen walls (cooking grease)
- Hallways (hand marks around light switches and door handles)
- Children’s rooms (crayon, marker, stickers — yes, stickers leave residue)
Step 3: Strip Old Wallpaper (If Applicable)
If there’s wallpaper to remove, now is the time. Don’t be tempted to paint over it — it will bubble, peel, and look terrible within months.
Use a wallpaper scorer, warm water with a small amount of washing-up liquid, and a broad scraper. Steam strippers speed up the process significantly on stubborn paper.
Once stripped, the wall underneath will often need more work than a previously painted surface — more on that in our dedicated guide to removing old wallpaper before painting.
Step 4: Repair Cracks, Holes and Imperfections
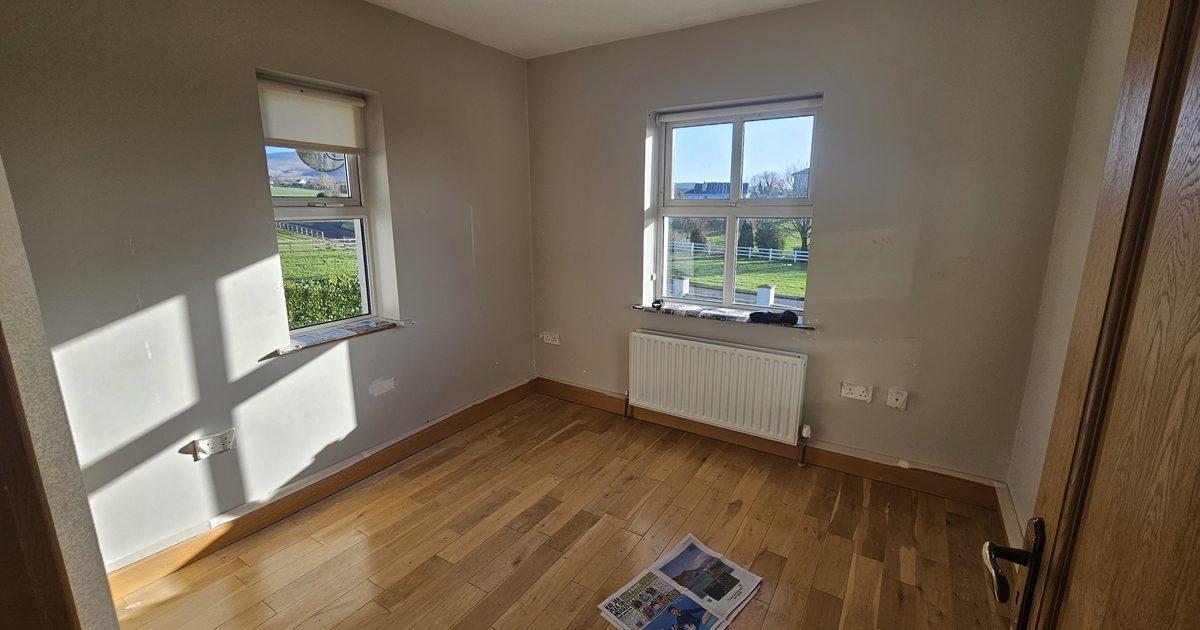
This is where most DIY preparation falls short. Every hole, crack, and dent needs to be filled before painting. Paint does not hide imperfections — it highlights them, particularly in raking light (light coming from the side, such as near a window).
For small holes and minor cracks: Use a ready-mixed filler like Polycell Fine Surface or Dulux Trade filler. Apply with a filling knife, leave slightly proud of the wall, and sand back flush once dry.
For larger cracks: Use a stiffer filler and consider whether the crack indicates a structural issue. Hairline cracks in plaster are normal as a building settles. Wide or growing cracks need investigation.
For deeper holes: Use a two-part filler for a harder, more durable repair.
For hairline cracks in corners: Flexible decorator’s caulk is more appropriate than rigid filler, which will crack again.
Once filled and dry, sand smooth with fine grit sandpaper (120-180 grit). Feather the edges so the repair blends seamlessly into the surrounding wall.
Step 5: Sand the Entire Wall Surface
Even if there are no obvious repairs, a light sand of the whole wall improves paint adhesion and removes any bumps, drips from previous paint jobs, or surface texture inconsistencies.
Use a pole sander with 120 grit paper for efficiency on large flat walls. Hand sand around corners, near the ceiling line, and around any features.
After sanding, remove all dust with a slightly damp cloth or a tack cloth. This step is critical — painting over sanding dust causes adhesion problems.
Step 6: Prime Where Needed
Priming is not always necessary, but in these situations it’s essential:
- Bare plaster: Must have a mist coat (diluted emulsion 70:30 paint to water) before full-strength coats. See our detailed guide on painting new plaster.
- Repaired areas: Spot prime all filled areas to prevent them from showing through as dull patches (called “flashing”) in the final finish.
- Stained walls: Nicotine, water stains, and marker pen need a proper shellac-based stain blocker or they will bleed through regardless of how many coats of finish paint you apply.
- Major colour changes: Going from a very dark to a very light colour? A grey or white primer reduces the number of finish coats needed.
Step 7: Re-mask and Final Check
Before opening the finish paint:
- Replace any masking tape that has lifted or shifted
- Do a final visual scan of the walls in good light
- Check all repairs are fully dry and sanded smooth
- Ensure the room is at a reasonable temperature — paint applied in a cold room (below 10°C) won’t dry properly
Why This Matters for the Final Result
The quality of your preparation directly determines the quality of your finish. A professional painter in Carrickmacross spends time on this stage because it’s what makes paint look like it was applied by a professional, not a rushed DIY job.
It also determines how long the finish lasts. Well-prepared walls painted properly can look great for 7-10 years. Poorly prepared walls may need repainting within 2-3 years.
For more on what the full interior painting process looks like, visit our interior painting service page. And when you’re ready to choose your finish, read our guide on eggshell, satin and matt finishes.
Need a professional painter in Carrickmacross or across Co. Monaghan to handle prep and painting properly? Call or WhatsApp Mark today: 0879197709. Free quotes, no shortcuts.
Need professional interior painting services in Carrickmacross?