How to Paint Around Radiators, Sockets and Switches Neatly
The small details make or break an interior paint job. A professional painter in Carrickmacross explains the correct technique for painting neatly around radiators, sockets, and light switches.
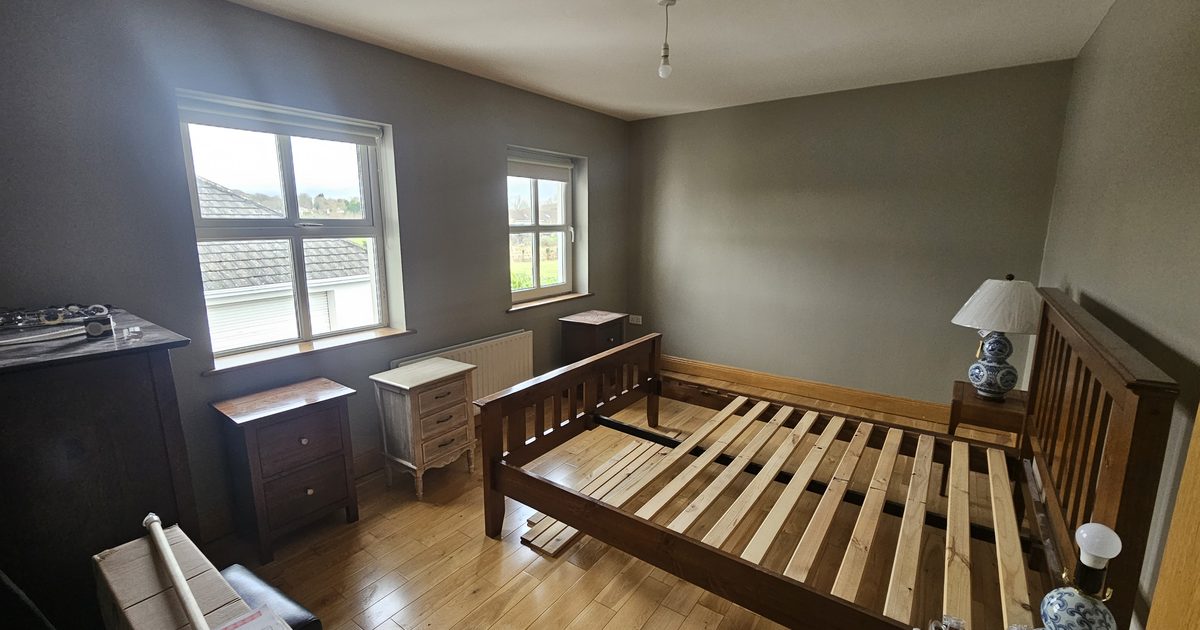
Clean edges around radiators, light switches, and sockets are one of the most noticeable indicators of a professional paint job. Splodges of wall colour on white switch plates, a visible drip down the front of a radiator, or a ragged edge around an outlet cover — these small details betray a rushed job in a way that’s difficult to ignore once you’ve noticed them.
As a professional interior painter working across Carrickmacross and Co. Monaghan, here’s how each of these is handled properly.
Painting Around Sockets and Light Switches
The correct approach depends on whether you’re removing the faceplates or painting around them in situ.
Preferred method — remove the faceplates: Turn off the electricity at the consumer unit for the circuit you’re working on. With the power off, unscrew the socket or switch faceplate (typically two screws). The faceplate will come away from the wall, usually with a short length of cable between it and the back box. You don’t need to disconnect anything — just let it hang away from the wall on its cable.
Now you can paint right up to the back box with a small brush, achieving a clean, complete edge. When the paint is dry, refit the faceplate, restore the power. Clean result, no masking, no ragged edges.
Alternative method — mask and cut in: If removing faceplates isn’t practical (rented property, concerns about the electrics), use low-tack masking tape around the perimeter of the faceplate. Apply carefully, ensuring the tape edge is flush with the faceplate edge. Paint up to the tape with a small cutting-in brush, remove the tape while the paint is still tacky.
This gives an acceptable result but is never quite as clean as painting with the faceplate removed.
What to avoid: Painting around sockets and switches freehand without removing the faceplate or masking — this almost always results in wall colour on the faceplate or a ragged, visibly brushed edge around the outlet.
If socket or switch faceplates are stained or discoloured, the simplest solution is to replace them. White plastic faceplates cost almost nothing and make an immediate difference to how a room looks.
Painting the Wall Behind Radiators
The wall behind a radiator is one of those areas that gets ignored because it’s hard to reach — but it’s visible in certain light, particularly around the edges of the radiator and when viewed from across the room.
Option 1 — Remove the radiator: On a full redecoration job, the ideal approach is to have the radiator drained and removed before painting. This allows the wall behind to be properly prepared, primed, and painted in full. A plumber needs to drain and remove the radiator before painting and refit it after.
This is the approach on new builds and major renovations in Co. Monaghan. It adds cost but gives a complete, professional result.
Option 2 — Use a radiator roller or long-handle brush: For most standard redecorations where removing the radiator isn’t practical, a specialist radiator roller (a narrow, long-handled roller designed to reach behind radiators) or a long-handled brush can reach the accessible parts of the wall behind and beside the radiator.
These tools can paint down behind the radiator 15-20cm from the top — enough to cover what’s visible. They can’t reach the full wall behind, but for most rooms this is acceptable.
The pipe area: The pipes connecting the radiator to the wall are often not painted — they tend to be factory-coated and this coating holds well. If pipes need painting, a small brush and patience is required. Painting pipes in a contrasting colour to the wall is a common and effective approach that avoids trying to blend them with the wall colour.
Turning the radiator off: Before painting around a radiator, turn it off and allow it to cool completely. Painting on a warm radiator causes paint to dry unevenly, and the heat can cause bubbling or a rough texture.
Painting Around Coving and Ceiling Roses
Ceiling roses and coving details are covered in detail in our guide to how to paint coving and cornices without making a mess. In brief: a small brush, careful loading to avoid blobs in the detail, and working systematically around the profile.
The General Principle: Slow Down at the Details
The areas around obstacles — radiators, sockets, pipes, window reveals — are where rushed painting jobs show their limitations most clearly. A professional result comes from slowing down at these points, using the right brush size (smaller than you might think for tight areas), and taking the time to achieve clean edges rather than rushing past them.
Using the right brush for each task is fundamental. Read our guide on the right paintbrush for every job for the specific tools that make detail work cleaner and faster.
For our full interior painting service across Carrickmacross and Co. Monaghan, where detail work is taken as seriously as the main surfaces, visit our interior painting service page.
Want the details done right in Carrickmacross or Co. Monaghan? Call or WhatsApp Mark today: 0879197709. Free quotes.
Need professional interior painting services in Carrickmacross?