How to Paint Coving and Cornices Without Making a Mess
Coving and cornices are where amateur paint jobs fall apart. A professional interior painter in Carrickmacross explains the correct technique for clean, sharp lines every time.
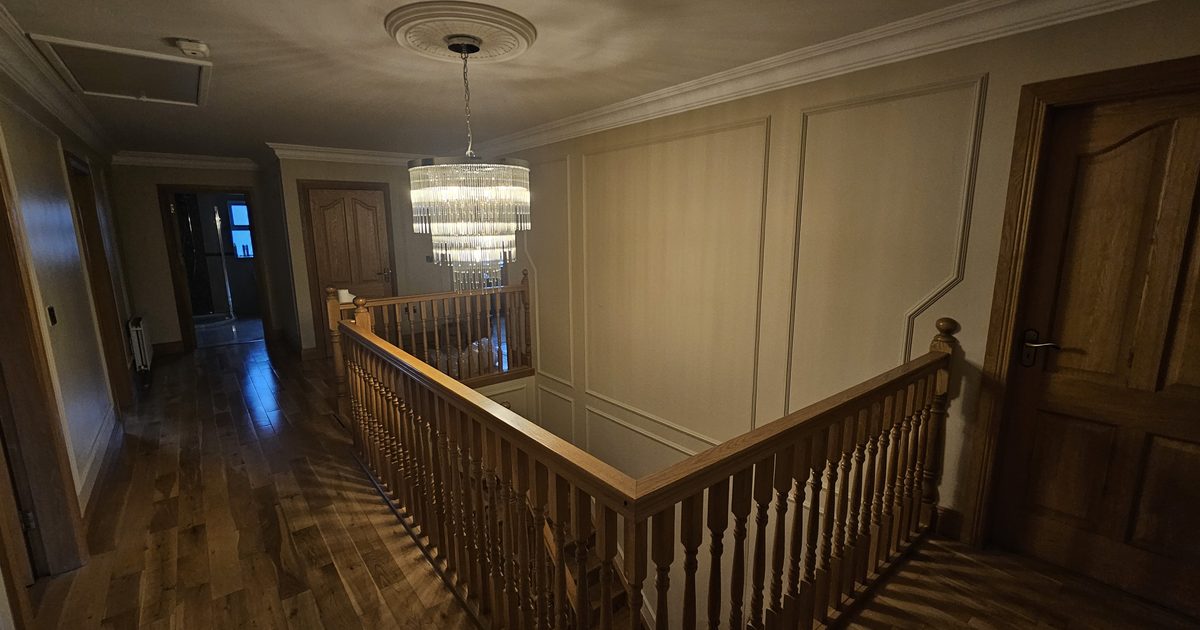
Coving and cornices are one of the defining features of a well-finished Irish home — and one of the areas where a DIY paint job most often shows its limitations. Ragged lines, paint from the ceiling bleeding onto the wall, blobs in the detail, patches where the brush hasn’t reached properly — these are the tell-tale signs of rushed coving work.
As a professional painter working across Carrickmacross and Co. Monaghan, clean coving lines are something I take real pride in. Here’s how it’s done properly.
Understanding What You’re Working With
Coving is the angled moulding that sits in the joint between the wall and ceiling. Cornices are the more decorative, detailed version found in older and period properties. Both create a visual transition between two surfaces and make rooms feel more finished and substantial.
The challenge: when you’re painting a room, the wall is typically one colour, the ceiling is typically white (or a different white), and the coving itself is usually white. Getting three clean boundaries where they all meet requires patience and technique.
The Two-Phase Approach
Professional painters tackle coving in two phases: during the wall painting stage and during the ceiling painting stage. Never try to do everything at once.
Phase 1 — When painting walls: Apply your wall colour up to the bottom edge of the coving. Use a cutting-in brush (also called an angled or sash brush) and work carefully along this line. The aim is to get the wall colour right up to the coving without going onto it.
Phase 2 — When painting coving and ceiling: Apply white (or ceiling colour) to the coving and ceiling, cutting in cleanly along the top edge of the coving where it meets the ceiling and the bottom edge where it meets the wall.
This two-phase approach means any small overlaps are covered by the subsequent coat. It’s neater and faster than trying to do everything simultaneously.
Tools You Need
A good cutting-in brush. This is non-negotiable. A 25mm or 50mm angled sash brush with fine, soft bristles gives you control that a standard paintbrush simply doesn’t. Don’t try to cut in coving with a roller or a cheap flat brush.
A steady hand and patience. Rushing this part of the job is the single biggest cause of messy coving. Take your time, especially at corners.
Low-tack masking tape (optional but helpful). For beginners or for very intricate cornices, masking tape along the wall just below the coving bottom edge can help. Use proper decorator’s tape — not standard masking tape, which can bleed or damage the surface when removed.
The Cutting-In Technique
- Load your brush with a moderate amount of paint — not too much, not too little. Excess paint causes drips and blobs in the detail.
- Start a few centimetres in from the corner or edge, then work toward it. This gives you control over the pressure before you reach the critical line.
- Hold the brush so the angled tip does the cutting work. Keep the stroke smooth and continuous — stopping mid-stroke leaves marks.
- Work in manageable sections of 30-40cm at a time. Don’t try to cut in a full wall length in one stroke.
- Keep a damp cloth nearby to immediately wipe any small mistakes before they dry.
Dealing With Decorative Cornices
Period homes in Co. Monaghan often have ornate plaster cornices with deep profiles, egg-and-dart patterns, or acanthus leaf details. These require a different approach.
Use a smaller brush (15-20mm) to get paint into the recesses and detail. Work the paint in gently — don’t scrub, which can flatten the detail or create foam. Work systematically along the profile, ensuring you reach all the shadow areas while keeping paint off adjacent surfaces.
If the cornice has thick layers of old paint obscuring the detail, this can be carefully removed with a specialist cornice paint stripper — but this is specialist work best left to an experienced painter.
Common Mistakes
Loading too much paint on the brush. Blobs of paint that fall into the cornice detail are very difficult to remove cleanly once dry.
Using too wide a brush for intricate detail. Match your brush size to the scale of the work.
Removing masking tape too late. If tape is left on while paint dries hard, it can pull the paint film off the surface when removed. Remove tape while the paint is still slightly tacky — not fully wet, but not bone dry either.
Painting the coving a different sheen to the ceiling. If you’re painting the coving white, use the same white and the same finish as the ceiling. Different sheens on adjacent white surfaces will be obvious.
Why Coving Makes or Breaks a Room
Clean lines where wall meets coving meets ceiling are one of the most noticeable indicators of a quality paint job. It frames the room properly, makes the ceiling look higher, and gives the whole space a sense of being properly finished.
This is part of why our interior painting service in Carrickmacross always includes careful attention to coving and detail work — not just rolling walls. For more on the preparation that underpins a quality result, read our guide on how to prepare walls before painting.
Want clean, sharp coving and a professional finish throughout your home in Carrickmacross or Co. Monaghan? Call or WhatsApp Mark today: 0879197709. Free quotes on all interior work.
Need professional interior painting services in Carrickmacross?