The Right Order to Decorate a Room from Start to Finish
Decorating in the wrong order leads to rework, frustration, and a worse result. A professional decorator in Carrickmacross explains the correct sequence every time.
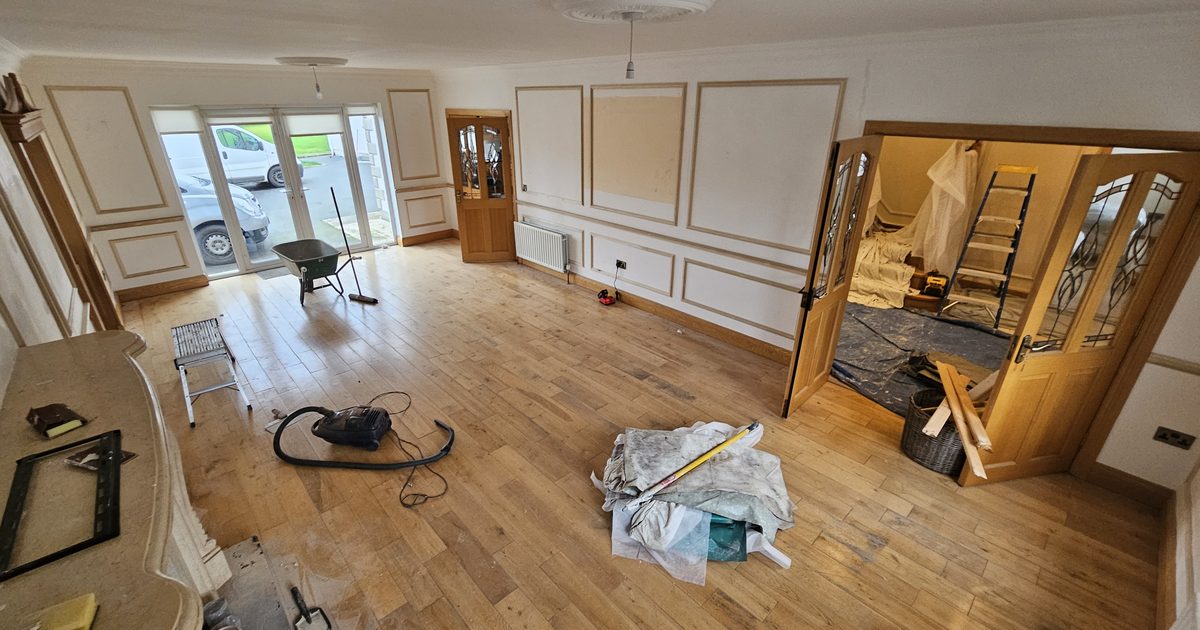
One of the most common — and most avoidable — mistakes in home decoration is doing things in the wrong order. Paint the walls before the ceiling is done and you’ll get drips on fresh paintwork. Paint the woodwork before the walls and you’ll splash skirting boards. Do the finishing touches before the second coat is on and you’ll be touching up around furniture you’ve already moved back in.
Sequence matters. And the professionals’ sequence isn’t arbitrary — it’s the result of doing this enough times to know exactly what causes rework and what prevents it.
As a decorator serving Carrickmacross and across Co. Monaghan, here is the correct order for a full room decoration, and why each step is where it is.
Stage 1: Prepare the Room
Before any paint is mixed or brush is loaded, the room needs to be properly prepared.
- Move furniture to the centre of the room and cover it
- Remove or cover light fittings, switch plates, and socket covers
- Lay dust sheets on the floor
- Mask skirtings with low-tack tape if you’re painting walls first (though experienced decorators often cut in freehand)
Good protection at this stage prevents a lot of cleaning up later. It’s tempting to skip dust sheets on hard floors, but paint splashes are harder to clean once dried.
Stage 2: Strip and Repair
If there’s wallpaper, it comes off now — before any painting begins. Attempting to paint around wallpaper that’s coming away, or painting walls that will later need stripping, is working backwards.
Once any wallpaper is removed, all wall repairs happen at this stage too: filling, sanding back, spot-priming any bare or porous patches. Every crack, hole, and imperfection needs to be addressed before paint goes anywhere.
See our guide on the hidden prep work that makes a professional finish for the full detail on what good preparation involves.
Stage 3: The Ceiling
The ceiling comes first — always. Painting the ceiling invariably means some paint falling or splashing onto the walls below. If the walls are already done, this means touching up or repainting. If the walls aren’t done yet, a few ceiling drips on the bare wall are irrelevant.
Apply a mist coat if the plaster is new. Then two finish coats of ceiling paint — typically a flat white. Cut in around the light fitting and the coving before rolling the main ceiling area.
Allow the ceiling to dry fully before moving on.
Stage 4: Walls — First Coat
With the ceiling done, work can begin on the walls. Apply the first coat across all walls in the room, working methodically — cut in the edges (ceiling line, coving, corners, around woodwork) with a brush first, then roll the main field.
Don’t worry too much about perfection at this stage. The first coat is about building the base and revealing what needs attention before the second coat.
Stage 5: Inspect and Touch Up Filler
After the first wall coat has dried, walk the room under a raking light. The first coat of paint will often reveal filler patches that have dried slightly different to the surrounding wall — a phenomenon called “flashing.” These areas look dull or patchy against the rest of the wall.
Spot prime any areas that are flashing. Allow to dry, then lightly sand any rough patches before the second coat.
Stage 6: Walls — Second Coat
Apply the second coat in the same way as the first, but with more care and attention to a clean, even result. This is the coat that counts — the one that will be seen and judged. Take time with the cut-in lines, ensure consistent coverage, and check under raking light as you go.
Allow to dry fully — do not rush this stage.
Stage 7: Woodwork — Primer and Undercoat
With walls done, woodwork comes next. On new or bare timber (new builds, stripped skirtings), apply a wood primer first, allow to dry, then an undercoat. On previously painted woodwork in good condition, lightly sand and apply the undercoat or first finish coat directly.
The reason woodwork comes after walls: any splashes or overlaps of wall colour onto skirtings and architraves during wall painting will be covered by the woodwork finish. If you do the woodwork first, those splashes require careful touch-up.
Stage 8: Woodwork — Finish Coats
Apply two finish coats of your chosen eggshell, satin, or gloss to all woodwork. Work systematically — all skirtings, then all door frames, then doors. Cut in clean lines where woodwork meets walls.
Allow adequate drying time between coats. Oil-based products take longer than water-based — check the manufacturer’s guidance.
Stage 9: Final Checks and Touch-Ups
Walk the finished room under raking light and under normal lighting. Look for any holidays (missed spots), drips, or ragged lines. Address any issues immediately while they can be blended in — touch-ups done the same day are far less visible than those done later.
Remove all masking tape, dust sheets, and protection. Replace switch plates and socket covers.
Stage 10: Reassemble
Move furniture back only when all surfaces are fully dry — not just touch-dry. Paint that’s touch-dry is not yet cured, and moving furniture too close to freshly painted skirtings or walls will leave marks.
For more on achieving a genuinely professional result through each of these stages, see our guide on how to get a flawless paint finish. For the full decoration service across Carrickmacross and Co. Monaghan, visit our full finish and decoration service page.
Want your room or full house decorated in the right order and to a professional standard in Carrickmacross or Co. Monaghan? Call or WhatsApp Mark today: 0879197709. Free quotes.
Need professional full finish & decoration services in Carrickmacross?